Install WSL on Windows
Versatus LASR requires Windows Subsystem for Linux (WSL) to function properly on Windows OS. Follow this guide to install WSL and set it up for use with LASR.
Step 1: Install WSL
You can either install WSL on windows through command line in PowerShell, or Windows Store:
- Windows Store
- Command Line
Installing WSL via Windows Store requires the following steps:
- Access the Windows Store.
- Click Download. The WSL with the Ubuntu OS will be installed into your machine.
Follow the steps below to enable WSL components and install the default Linux distribution (Ubuntu):
- Open PowerShell as Administrator. You can do this by searching for PowerShell in the Start menu, right-clicking it, and selecting Run as administrator.
- In the PowerShell window, run the following command:
wsl --install
After running the command above, you'll need to restart your computer. Before restarting your computer, be sure to save your work.
Step 2: Verify the Installation
To verify if your WSL is correctly installed, do the following:
- Open PowerShell.
- Execute the command below:
wsl --list --verbose
This will present a list of installed distributions, with Ubuntu listed and running.
Step 3: Set Up Ubuntu
With your Ubuntu installed:
- Open your Ubuntu distribution from the Start menu.
- You'll be prompted to create a user account and password for Ubuntu. Follow the on-screen instructions to complete the setup.
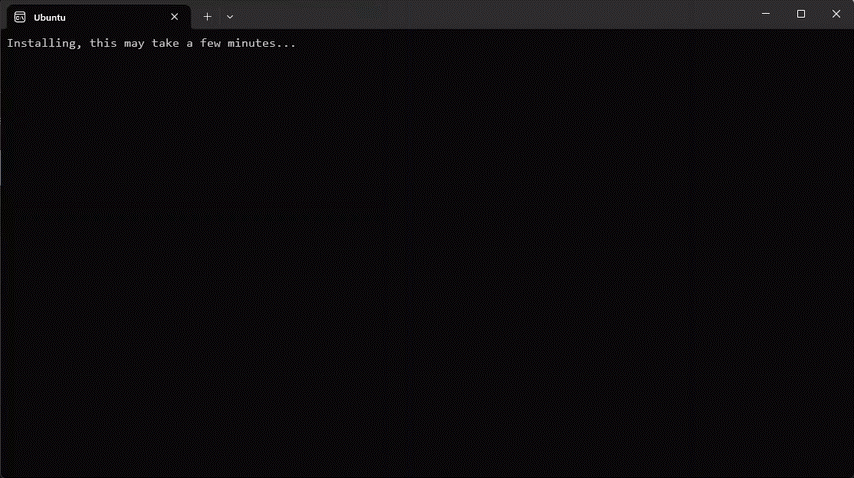
The gif below showcases the WSL installation process:

Step 4: Update Ubuntu
- Once you have set up Ubuntu, it's important to update it. Open the Ubuntu terminal and run the following commands:
sudo apt update && sudo apt upgrade -y
Step 5: Install Node.js and npm
Now, with your Ubuntu updated, you need to install Node V18 or newer, as required by Versatus LASR. Run the following comands to install the required packages:
sudo apt install -y nodejs npm
Remember to check if your node version is higher than 18. To see what version you currently have installed, run:
node -v
Your terminal will return something similar to the following:
you@laptop:~/versatus$ node -v
v20.12.2
If the version is lower than 18, you need to update Node.
Creating your First Program with LASR
With all steps completed, you're ready to continue your journey. Start by creating a Hello LASR program by following the Creating your First Program guide.
Access the following links to learn more about WSL: